BLOG: SQUIRTLE: My First Gaming PC
I first learned about building computers back in the 9th grade. Around this time, a lot of my friends were moving from console gaming onto PC gaming, and I wanted to be part of the fun. I recall researching the parts and components that offered the best bang-for-buck, and creating a bunch of PCPartPicker lists of what I would get if I was building a computer at a given budget. However, I wasn't actually able to build my own personal computer for a variety of reasons, and the biggest one came down to practicality. While I was in high school, I would frequently stay with my maternal grandparents over the weekends, and would usually spend most of my time after school at their house, since my parents would still be working. Because of this, I ended up getting myself a gaming laptop instead. Although it was considerably less powerful, it really served me well through the remainder of high school and into the start of college.
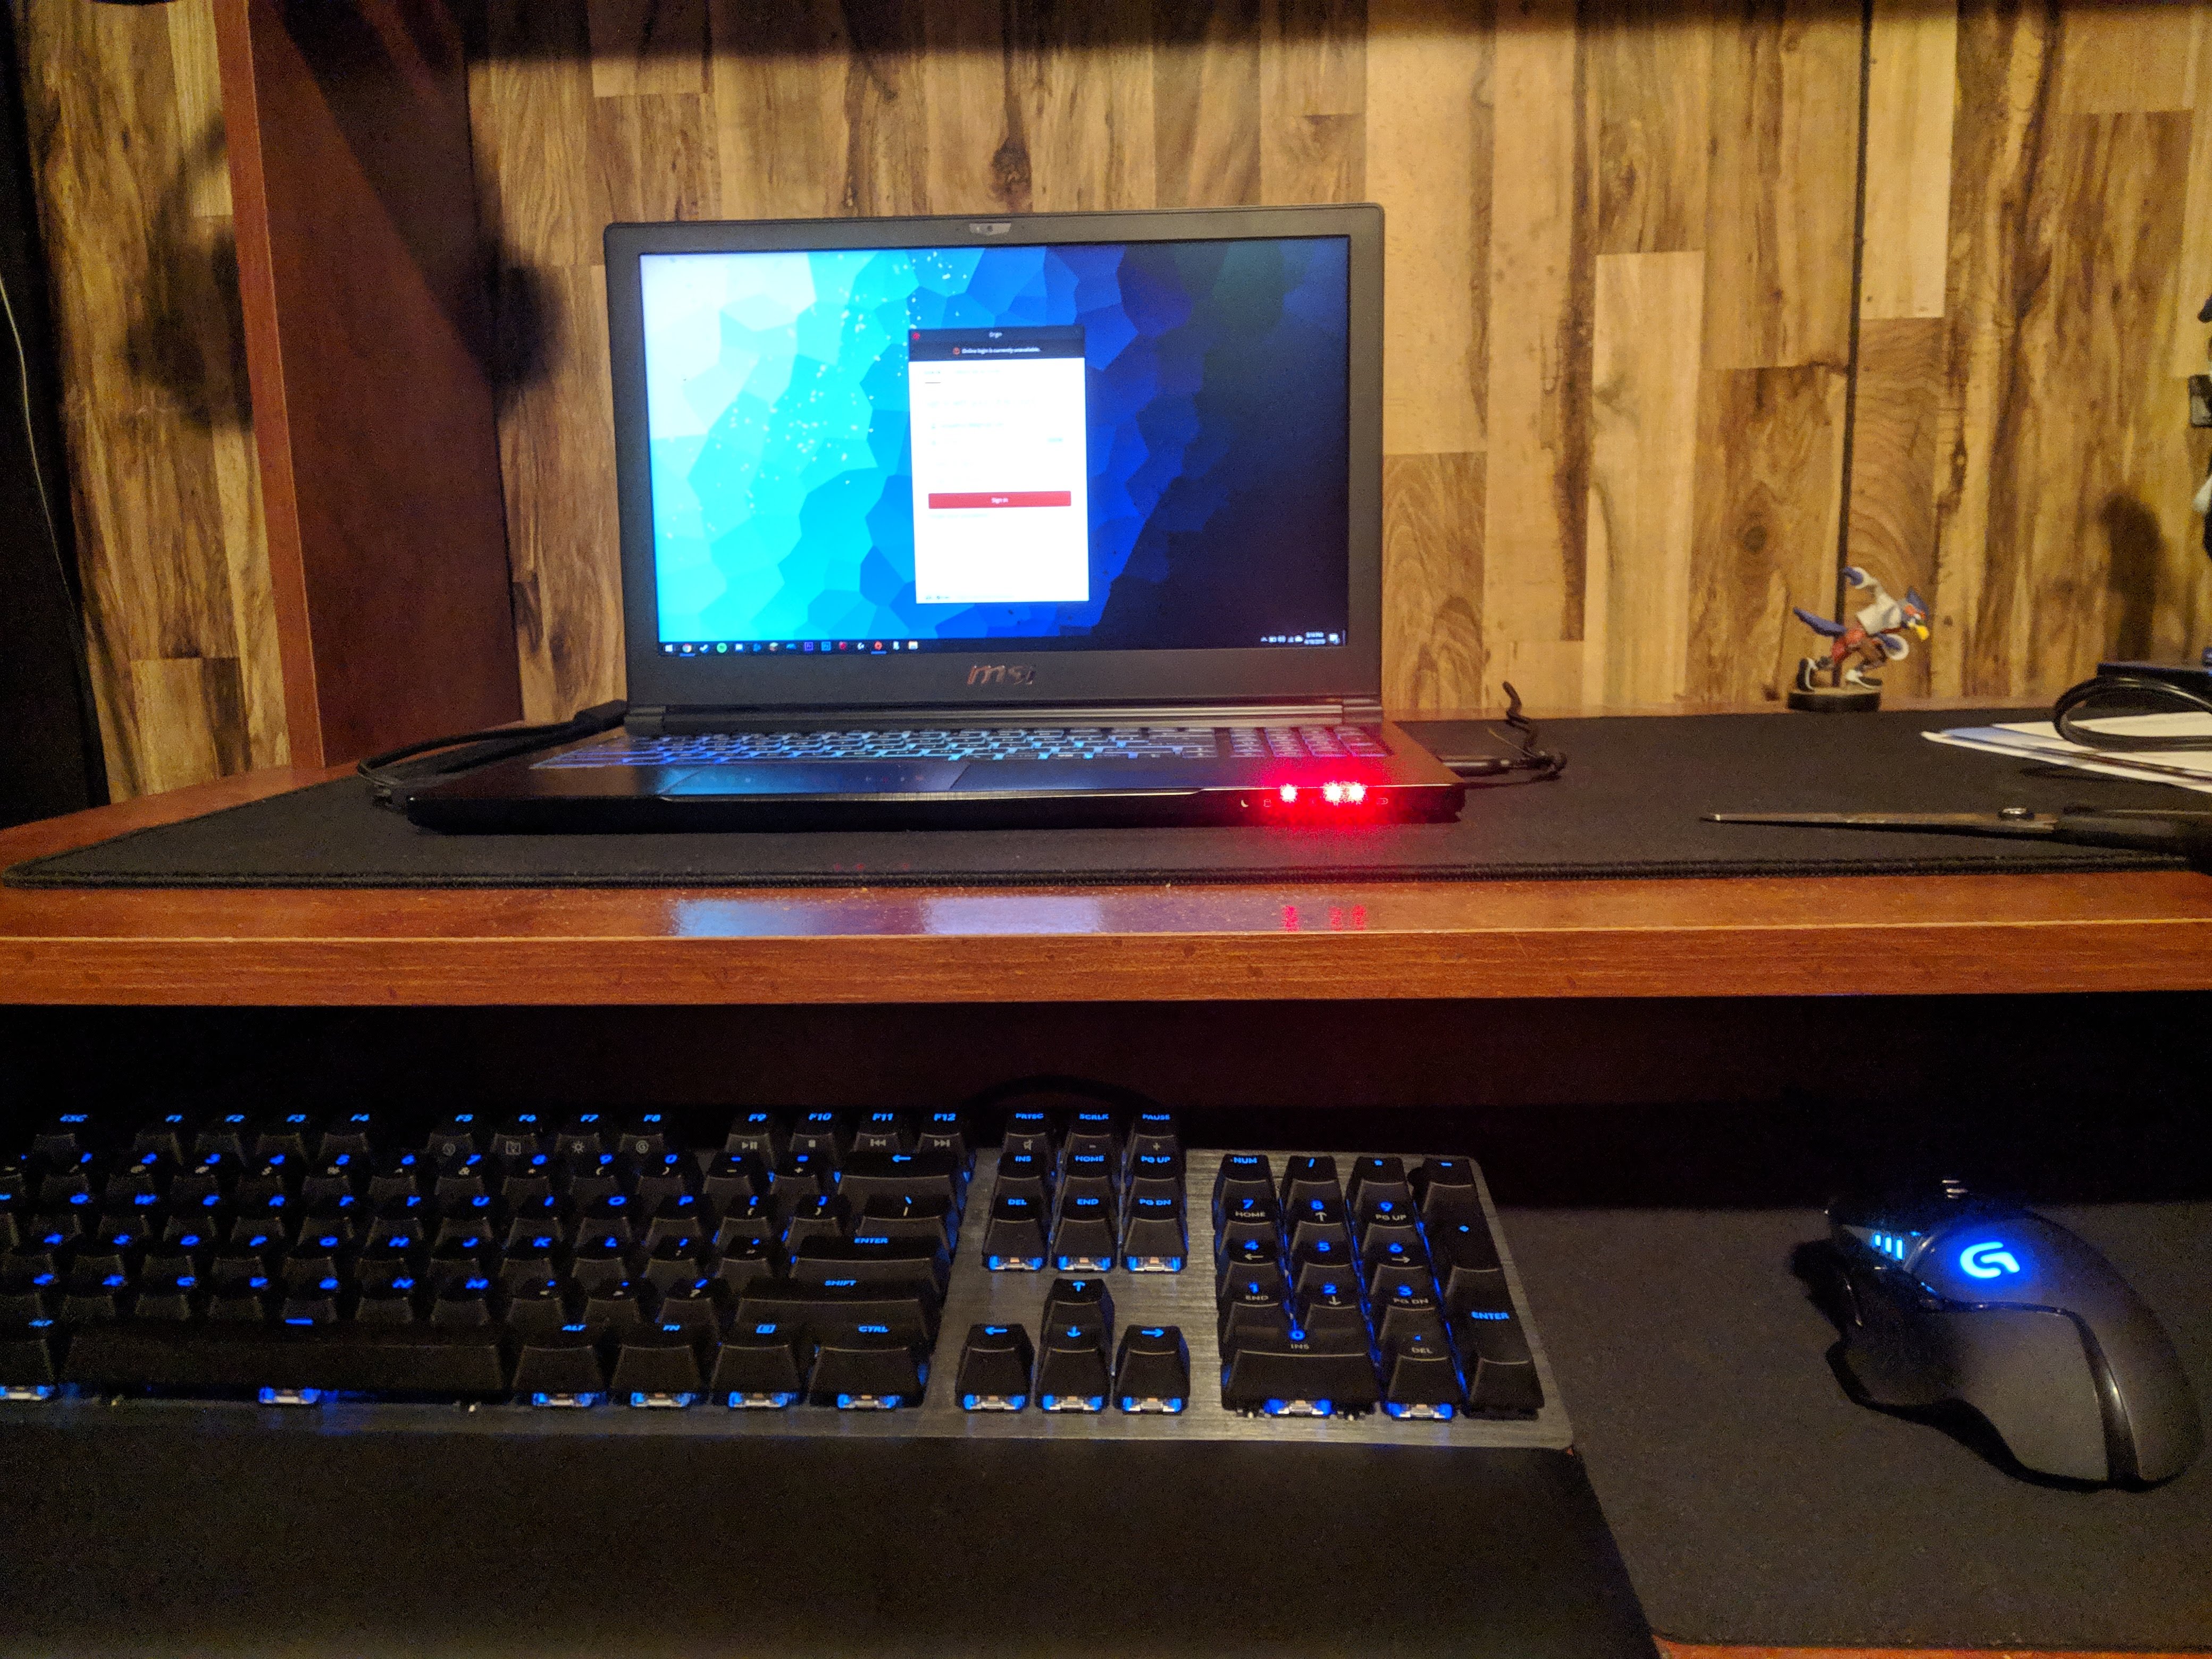 Photo of my setup from 2019
Unfortunately, it turns out that sub-$1000 gaming laptops from 2016 were not particularly well-built... The gaming laptop that I got at the beginning of high school began dying on me: random crashes, worn out fan bearings that caused extremely loud grinding sounds, poor battery life, and wear-and-tear on the chassis and hinge. I knew that I was going to need a new, more reliable computer since I would be attending university soon. Given that my college years were about to start, I decided to use some of my financial aid money to get myself a new laptop. I ended up going with a Dell XPS 15 this time, primarily due to its known reliability and build quality. Although it wasn't much more powerful than my previous gaming laptop, it proved itself to be an excellent laptop for all of my classes, and it is still going strong to this day.
Unfortunately, my trusty Dell XPS 15 is not a gaming computer. It struggles to run most of the titles I enjoy playing at a steady framerate. My girlfriend pointed out that I actually have a steady source of income now. Because of this, I finally decided to pull the trigger on building my first desktop computer.
I spent the last three months getting caught up with the current PC gaming component market to help determine a budget for the build. Given that I wanted to make my "dream PC," I decided to splurge and give myself a "blank check." In short, this meant that I picked out the components first, and then tried to figure out the cheapest way to get each of them... 😅
After several months of research, I finalized the parts list. Having the parts list at hand was very useful thanks to PCPartPicker's super cool price tracking tool. They essentially keep track of the prices that each of the supported vendors (Amazon, BestBuy, Newegg, etc.) has for their products, and they provide a graph showcasing the price of the item over time. This was super helpful as it allowed me to check which vendor had the lowest price for the day, and then purchase it whenever a given part reached a price that was close to their "all-time" low.
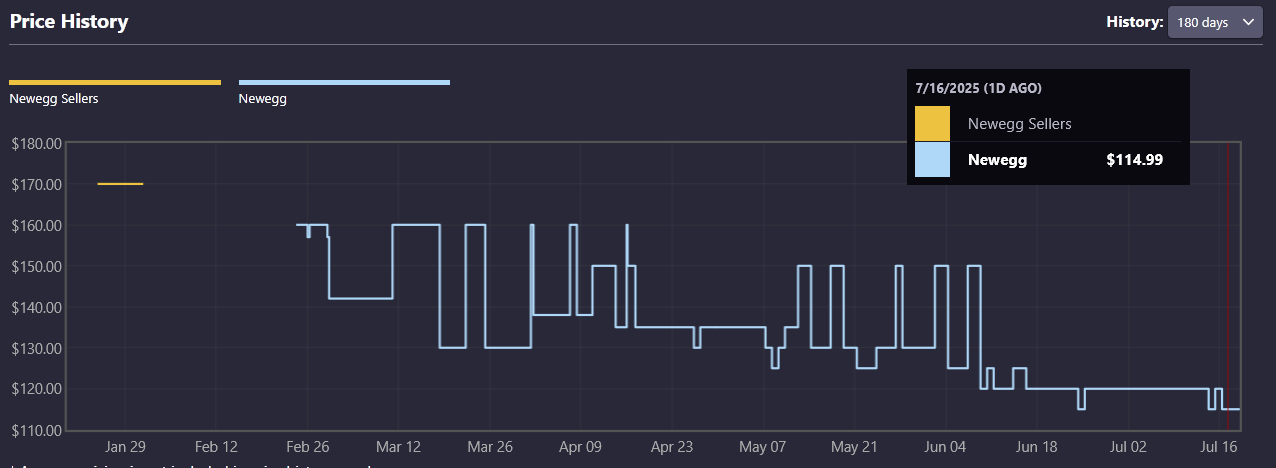 Sample price chart for an SK Hynix P41 SSD. It's a good time to buy!
A few of the parts proved to be a little challenging to pick out - particularly the CPU and graphics card. Since Intel CPUs have not been doing too hot in recent history, I decided to go for an AMD CPU. I was going back-and-forth between the Ryzen 7 9800X3D and the Ryzen 9 9900X. The 9900X has the processing core advantage, but the 9800X3D has 3D V-Cache, which is known to bring better performance for most games. I was originally going to go for the 9900X due to it being considerably cheaper (~$360 USD vs ~$470 USD). However, Reddit revealed to me that BestBuy can actually price match Micro Center! This allowed me to get the 9800X3D for a more "reasonable" $400 USD.
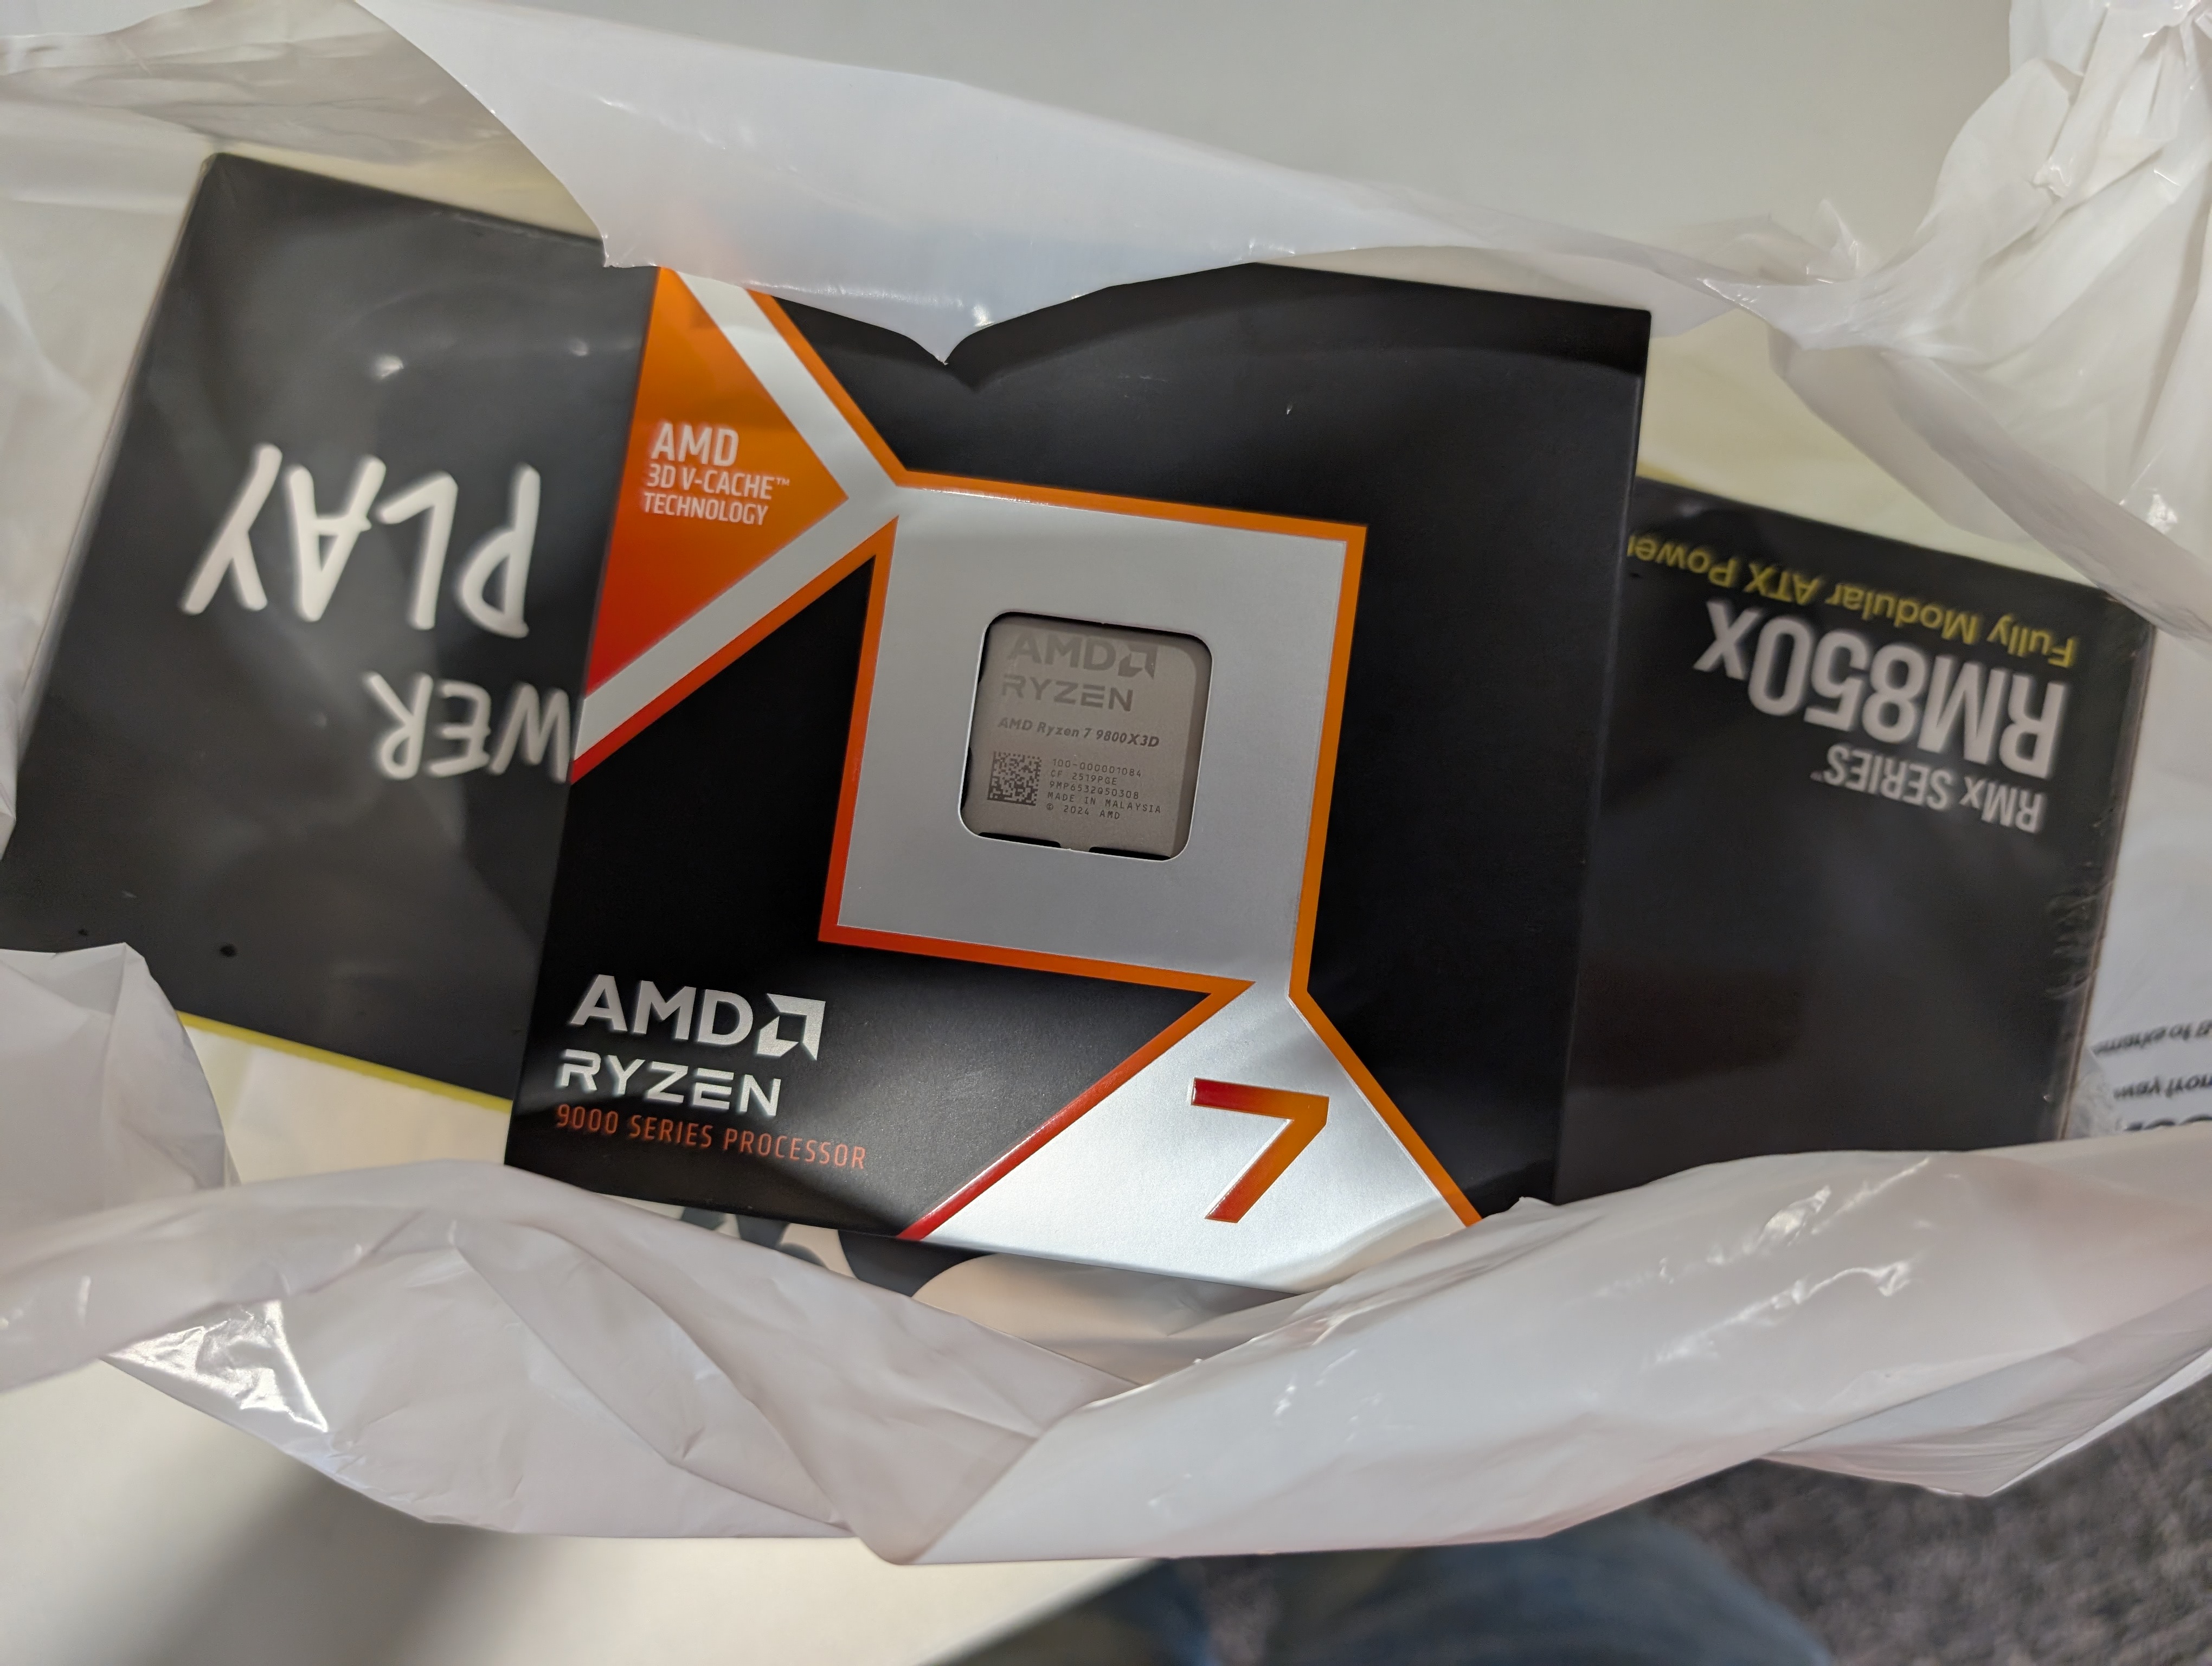 Me leaving my local BestBuy with their last 9800X3D
The last big-ticket item was the graphics card, and I was stuck between these two choices: an AMD Radeon RX 9070 XT and an NVIDIA RTX 5070 Ti. Although the 9070 XT is technically "cheaper" if we're only considering MSRP ($600 USD vs $750 USD 😵💫), at the time of review, scalpers inflated prices of the 9070 XT to the point that these two GPUs were relatively comparable. The 9070 XT is technically the superior card if we go by classical rasterization performance and pure specifications, but NVIDIA edges out when it comes to ray-tracing performance, frame generation, and local LLM performance. I was stuck between these two choices, and I determined that I would go with whichever GPU I could find for MSRP first. Every day, I would wake up and check whether 9070 XTs and 5070 Tis were available on any vendor websites... this went on for a couple weeks. Then, through what can only be described as an act of God, I woke up on the 4th of July to find that BestBuy had restocked 5070 Tis for Pick-up in select states. This meant that I started the day off by spending $750 USD 🤩 (my bank account did not like that...). About two and a half weeks later, I picked up the remaining parts (GPU and case) from BestBuy after getting out of work. I began working on the computer after taking my afternoon nap. 🛌
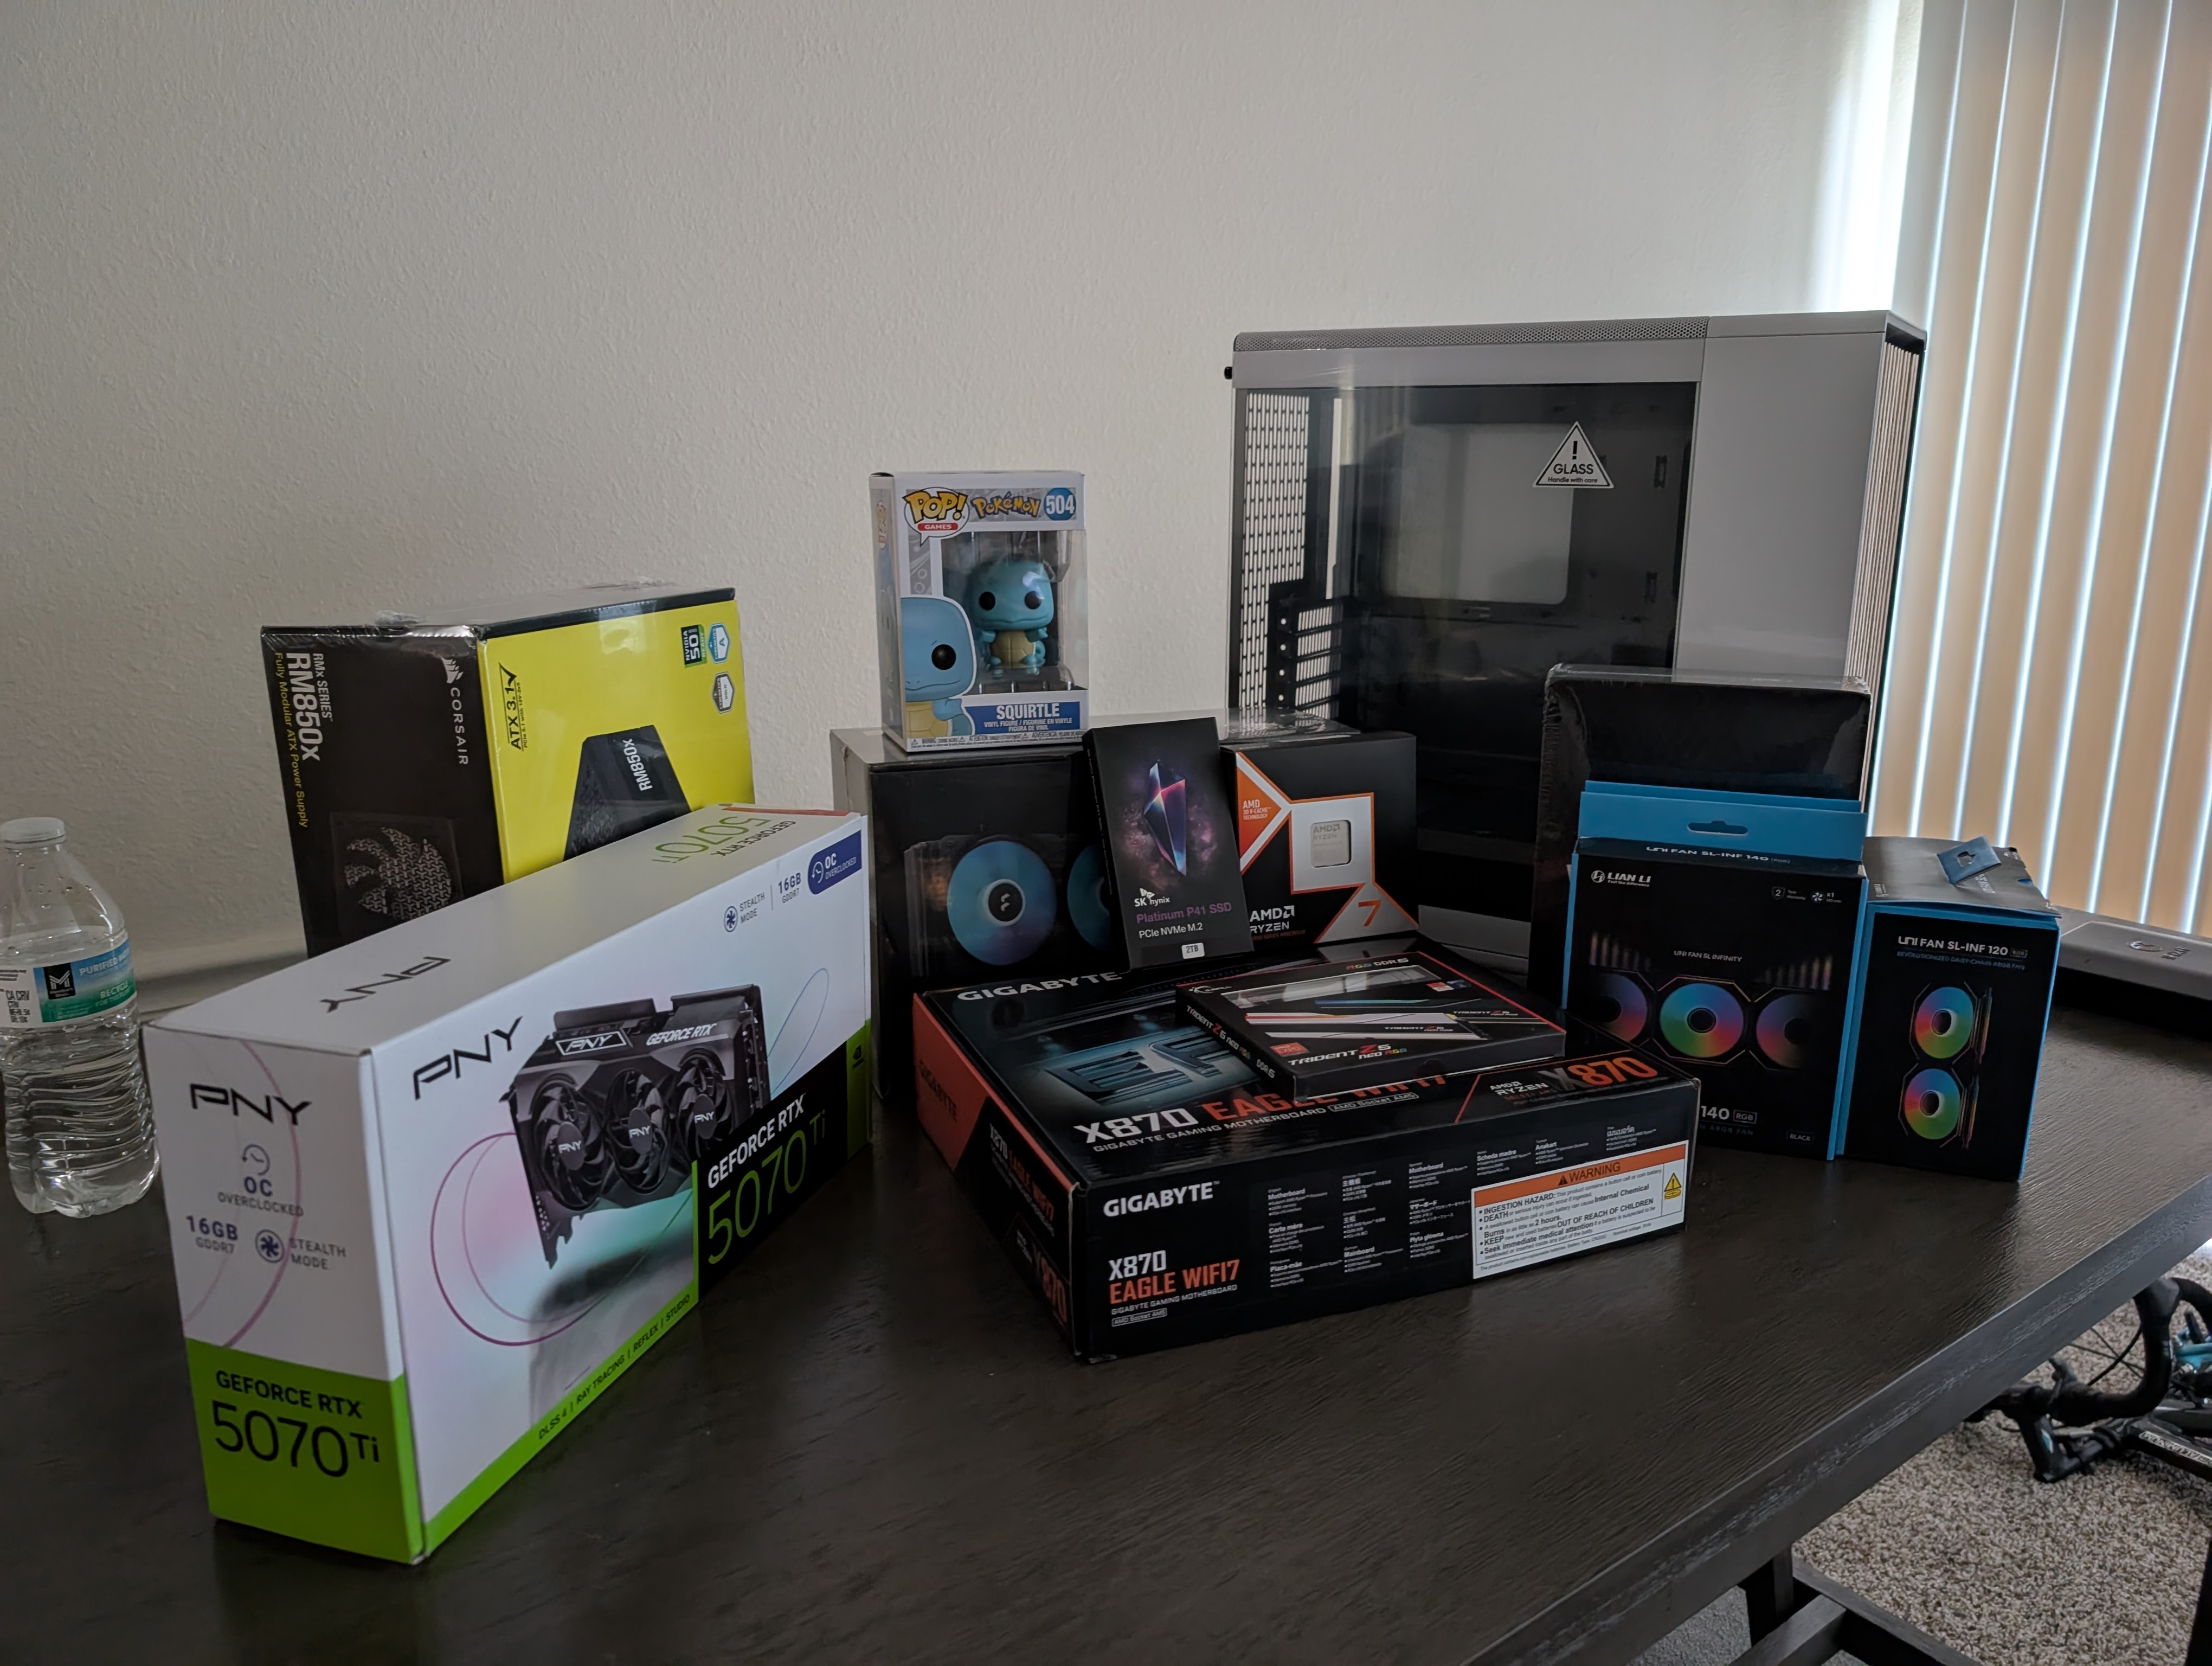 All the parts lined up!
Unfortunately, I ran into a few technical difficulties that slowed me down. Although I had some experience building computers from helping friends build their own throughout high school, I had several first-time experiences with this build. Due to the size and obstruction of the AIO radiator that I got, it proved to be very annoying to cable manage. I had to take the radiator off a total of five times during the course of the build to more comfortably access RGB, CPU power, and fan connectors on the upper side of the motherboard 😵💫.
Since the 9800X3D has integrated graphics, I decided to power on the computer before plugging in the GPU. I pressed the power button, briefly saw a distorted American Megatrends International screen pop up, and then a black screen. Needless to say, this was pretty scary. The immediate thing that came to mind was an outdated BIOS version that does not support the newer 9000-series CPUs. Thankfully, the motherboard came with a utility feature called Q-Flash Plus, which essentially lets you update the BIOS without needing to connect any components or access the actual BIOS interface. I downloaded the most up-to-date BIOS file onto a USB stick, connected it directly to the motherboard, clicked on the Q-Flash Plus button with a toothpick, and proceeded to wait 10 minutes for the flash to finish. The computer automatically restarted after the updated BIOS was flashed, and this was noticeable as the fans stopped spinning and the RGB turned off. Once the fans and RGB lighting came back on, I patiently waited for the BIOS screen to pop up.
I waited.
And waited.
And waited...
About 30 minutes passed, and my girlfriend made me realize that first-boot memory training should probably not take this long, and the computer was probably not going to POST successfully 😭. Given my Computer Science background, I confidently turned the computer off and back on. But this led to no avail. However, rebooting the computer made me realize that some of the error LEDs on the motherboard were turned on. The two LEDs that would light up were the BOOT and VGA LEDs. I noticed that the VGA LED would only turn on if I booted the PC without connecting an HDMI to the motherboard first, so I decided to ignore that one. However, the BOOT LED would turn on every other time, so I figured that the error had to do with something more critical.
It was about 2 AM and had to wake up for work at 6 AM - I was tired and just wanted to go to sleep. As a final attempt to make the computer boot, I decided to try two things:
- Connect the PC to a different display (in this case, the only other display available was my living room TV)
- Plug in my Windows 11 boot drive into the motherboard
In a moment of sleep-deprivation-rooted desperation, I moved one of our kitchen counter stools over to the TV, plopped the computer on top of it, unplugged the HDMI from my roommate's PS3, inserted my Windows 11 installation drive, and plugged in the power and HDMI cables to my computer. I pressed the power button, and was met with the Windows setup screen 🥹 (I was too sleepy to get a picture). I proceeded with the installation, but I decided to call it a night after Windows finished installing.
After what felt like the longest workday of all time, I got home and was finally able to finish the build. I plugged in the graphics card, cable-managed the back, unscrewed the radiator for like the fifth time because my sleep-deprived brain forgot to plug in the RGB header for the AIO water cooler, and made sure that all the power cables were properly connected to their corresponding connectors.
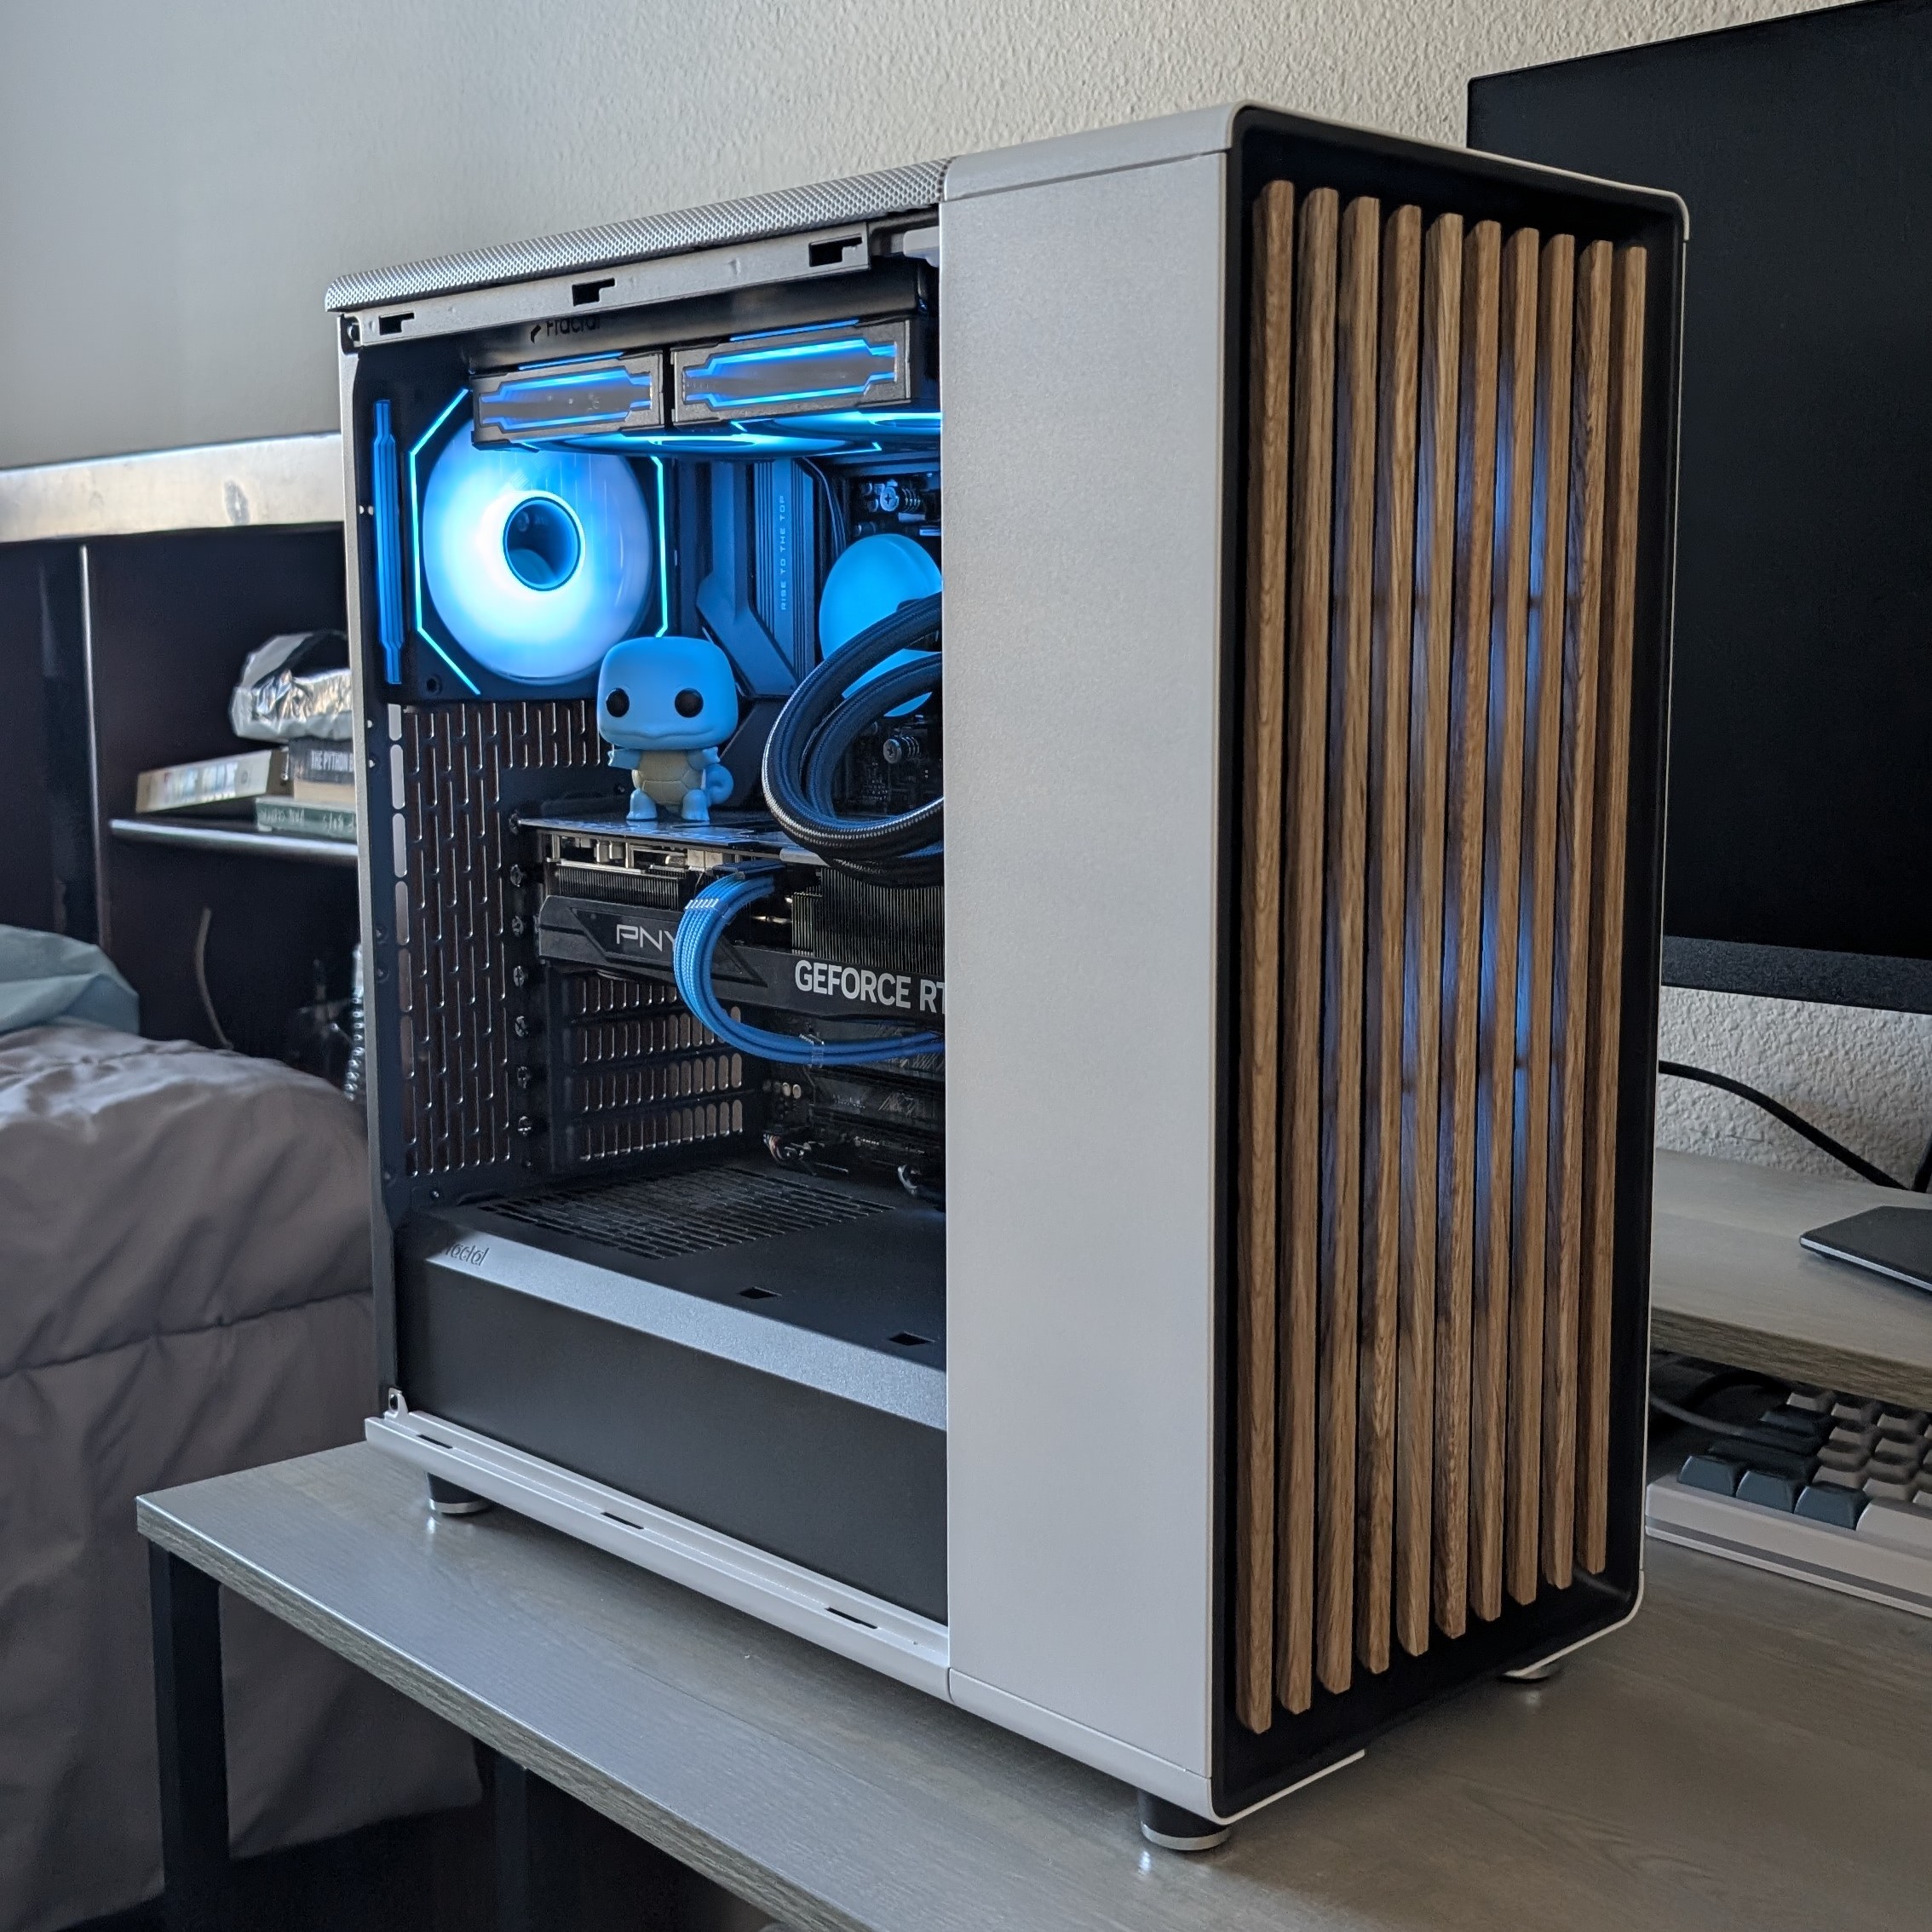
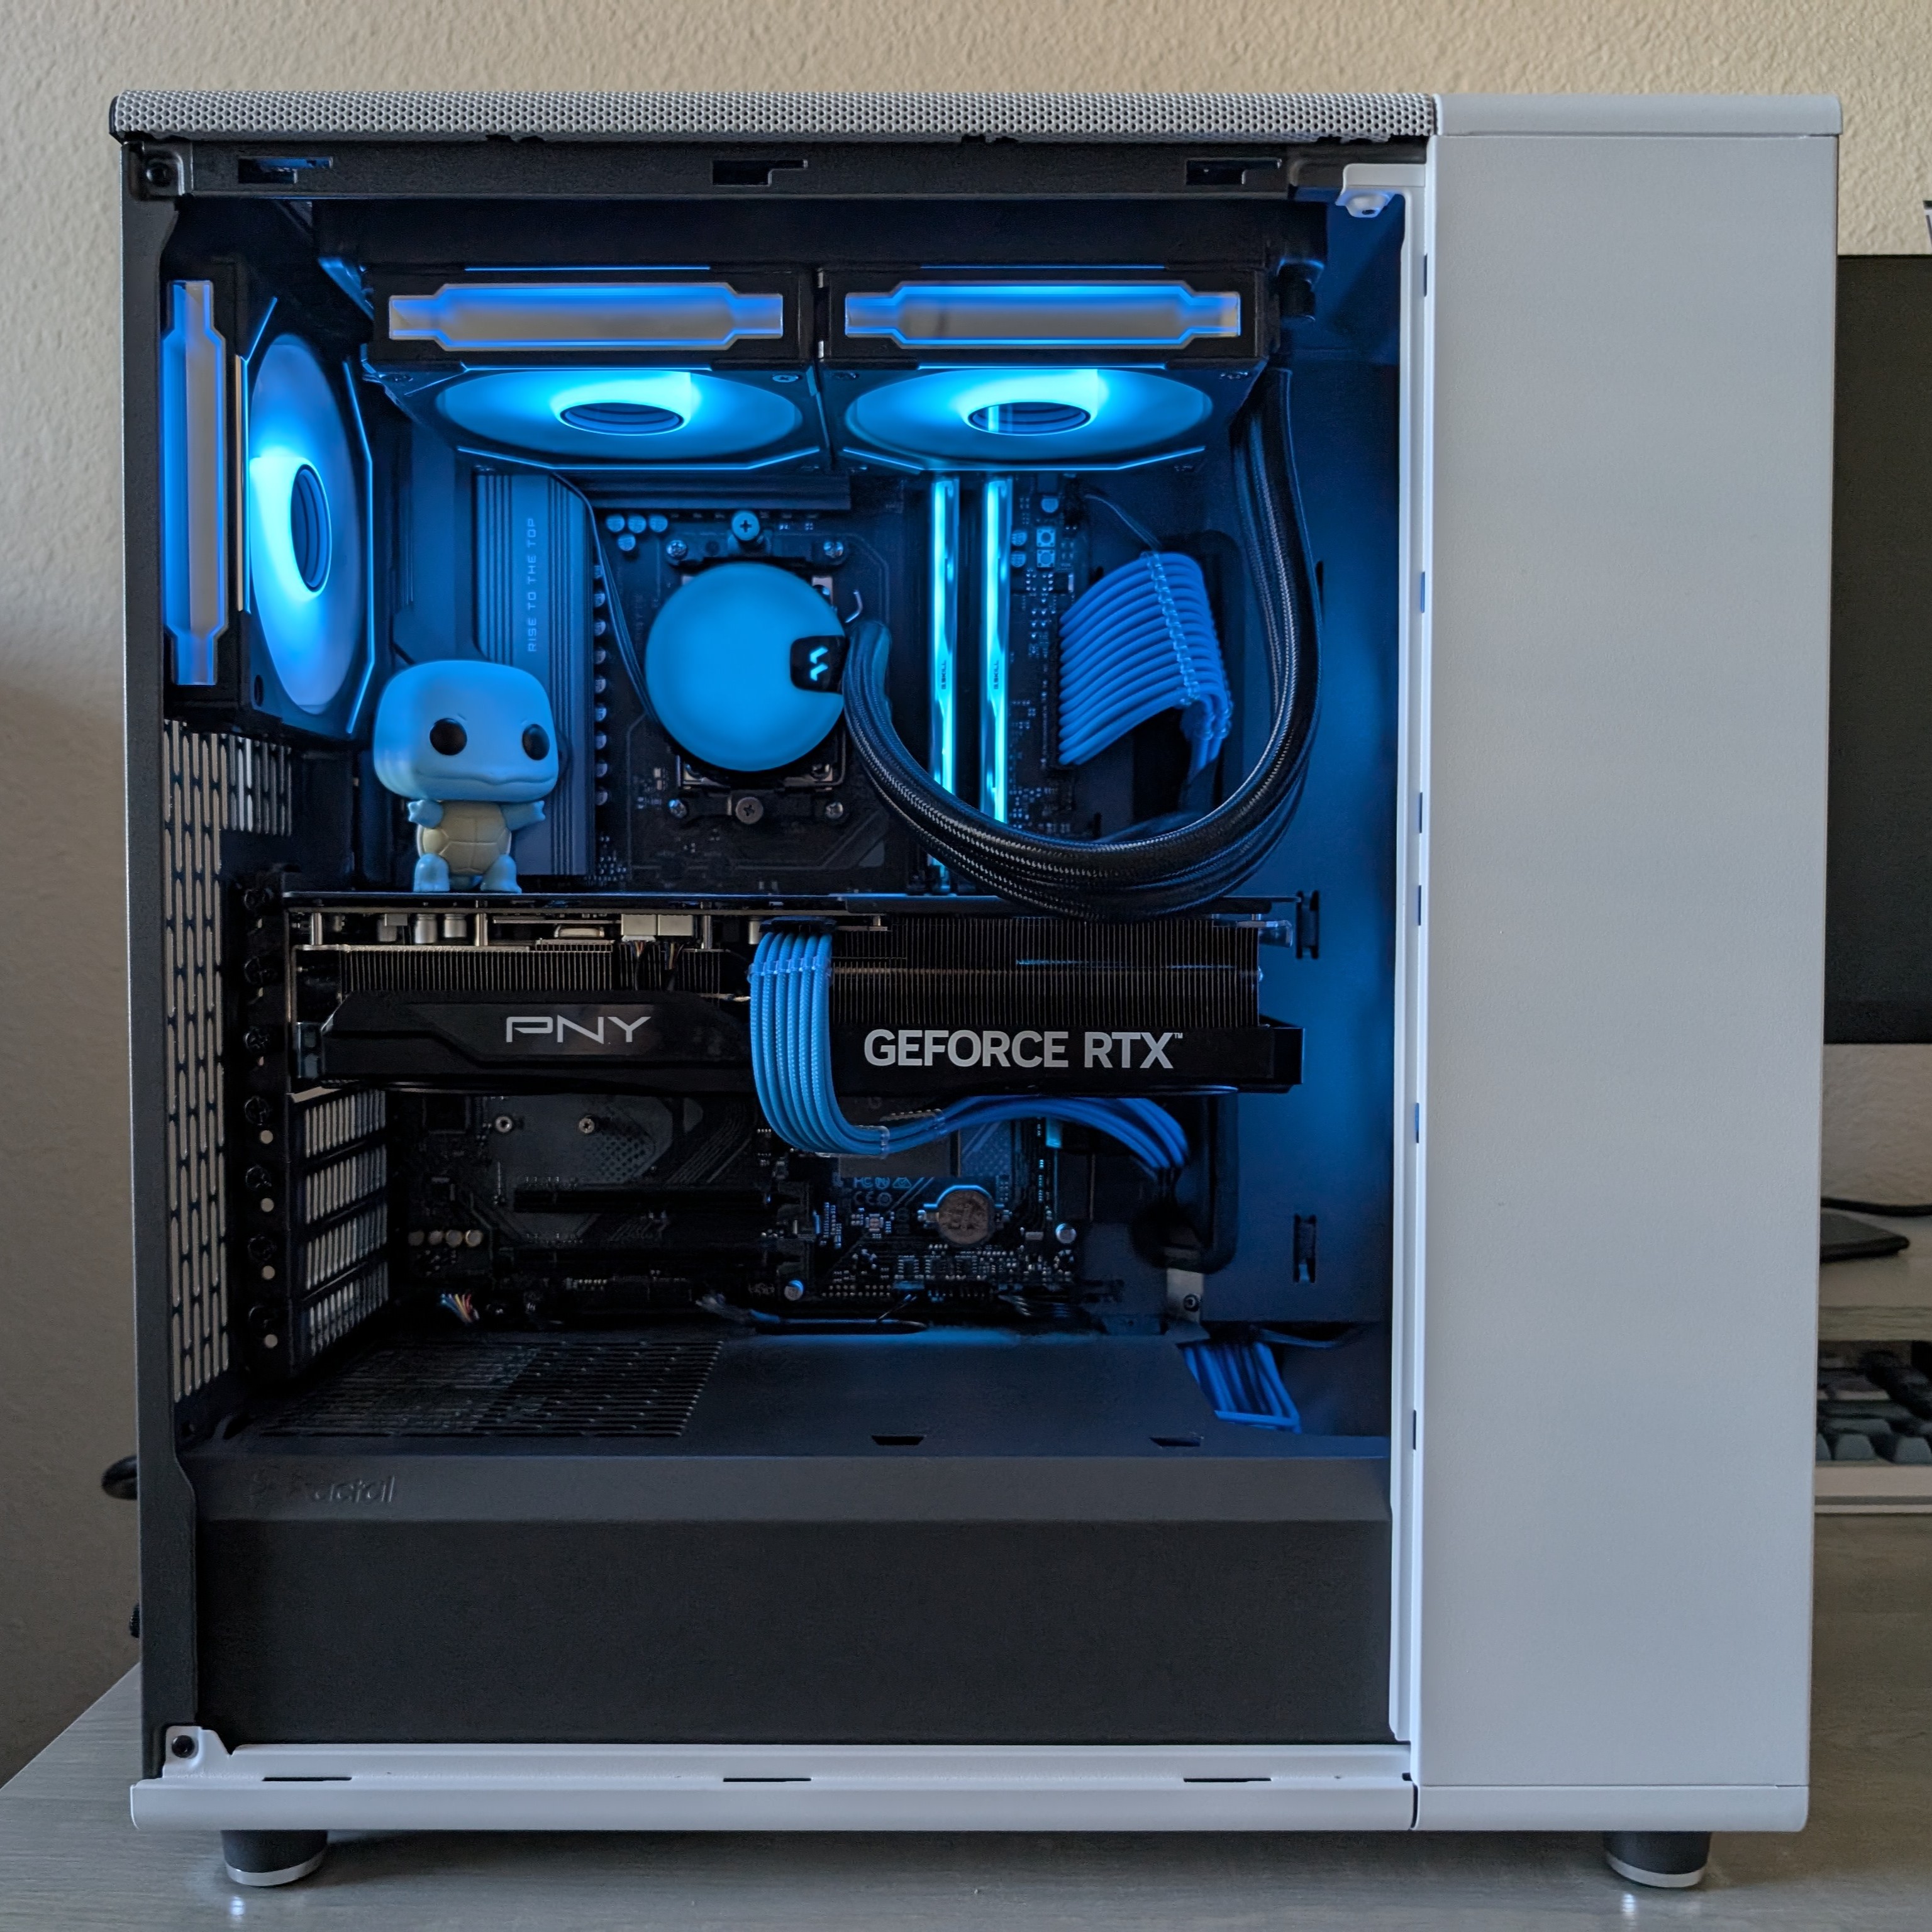
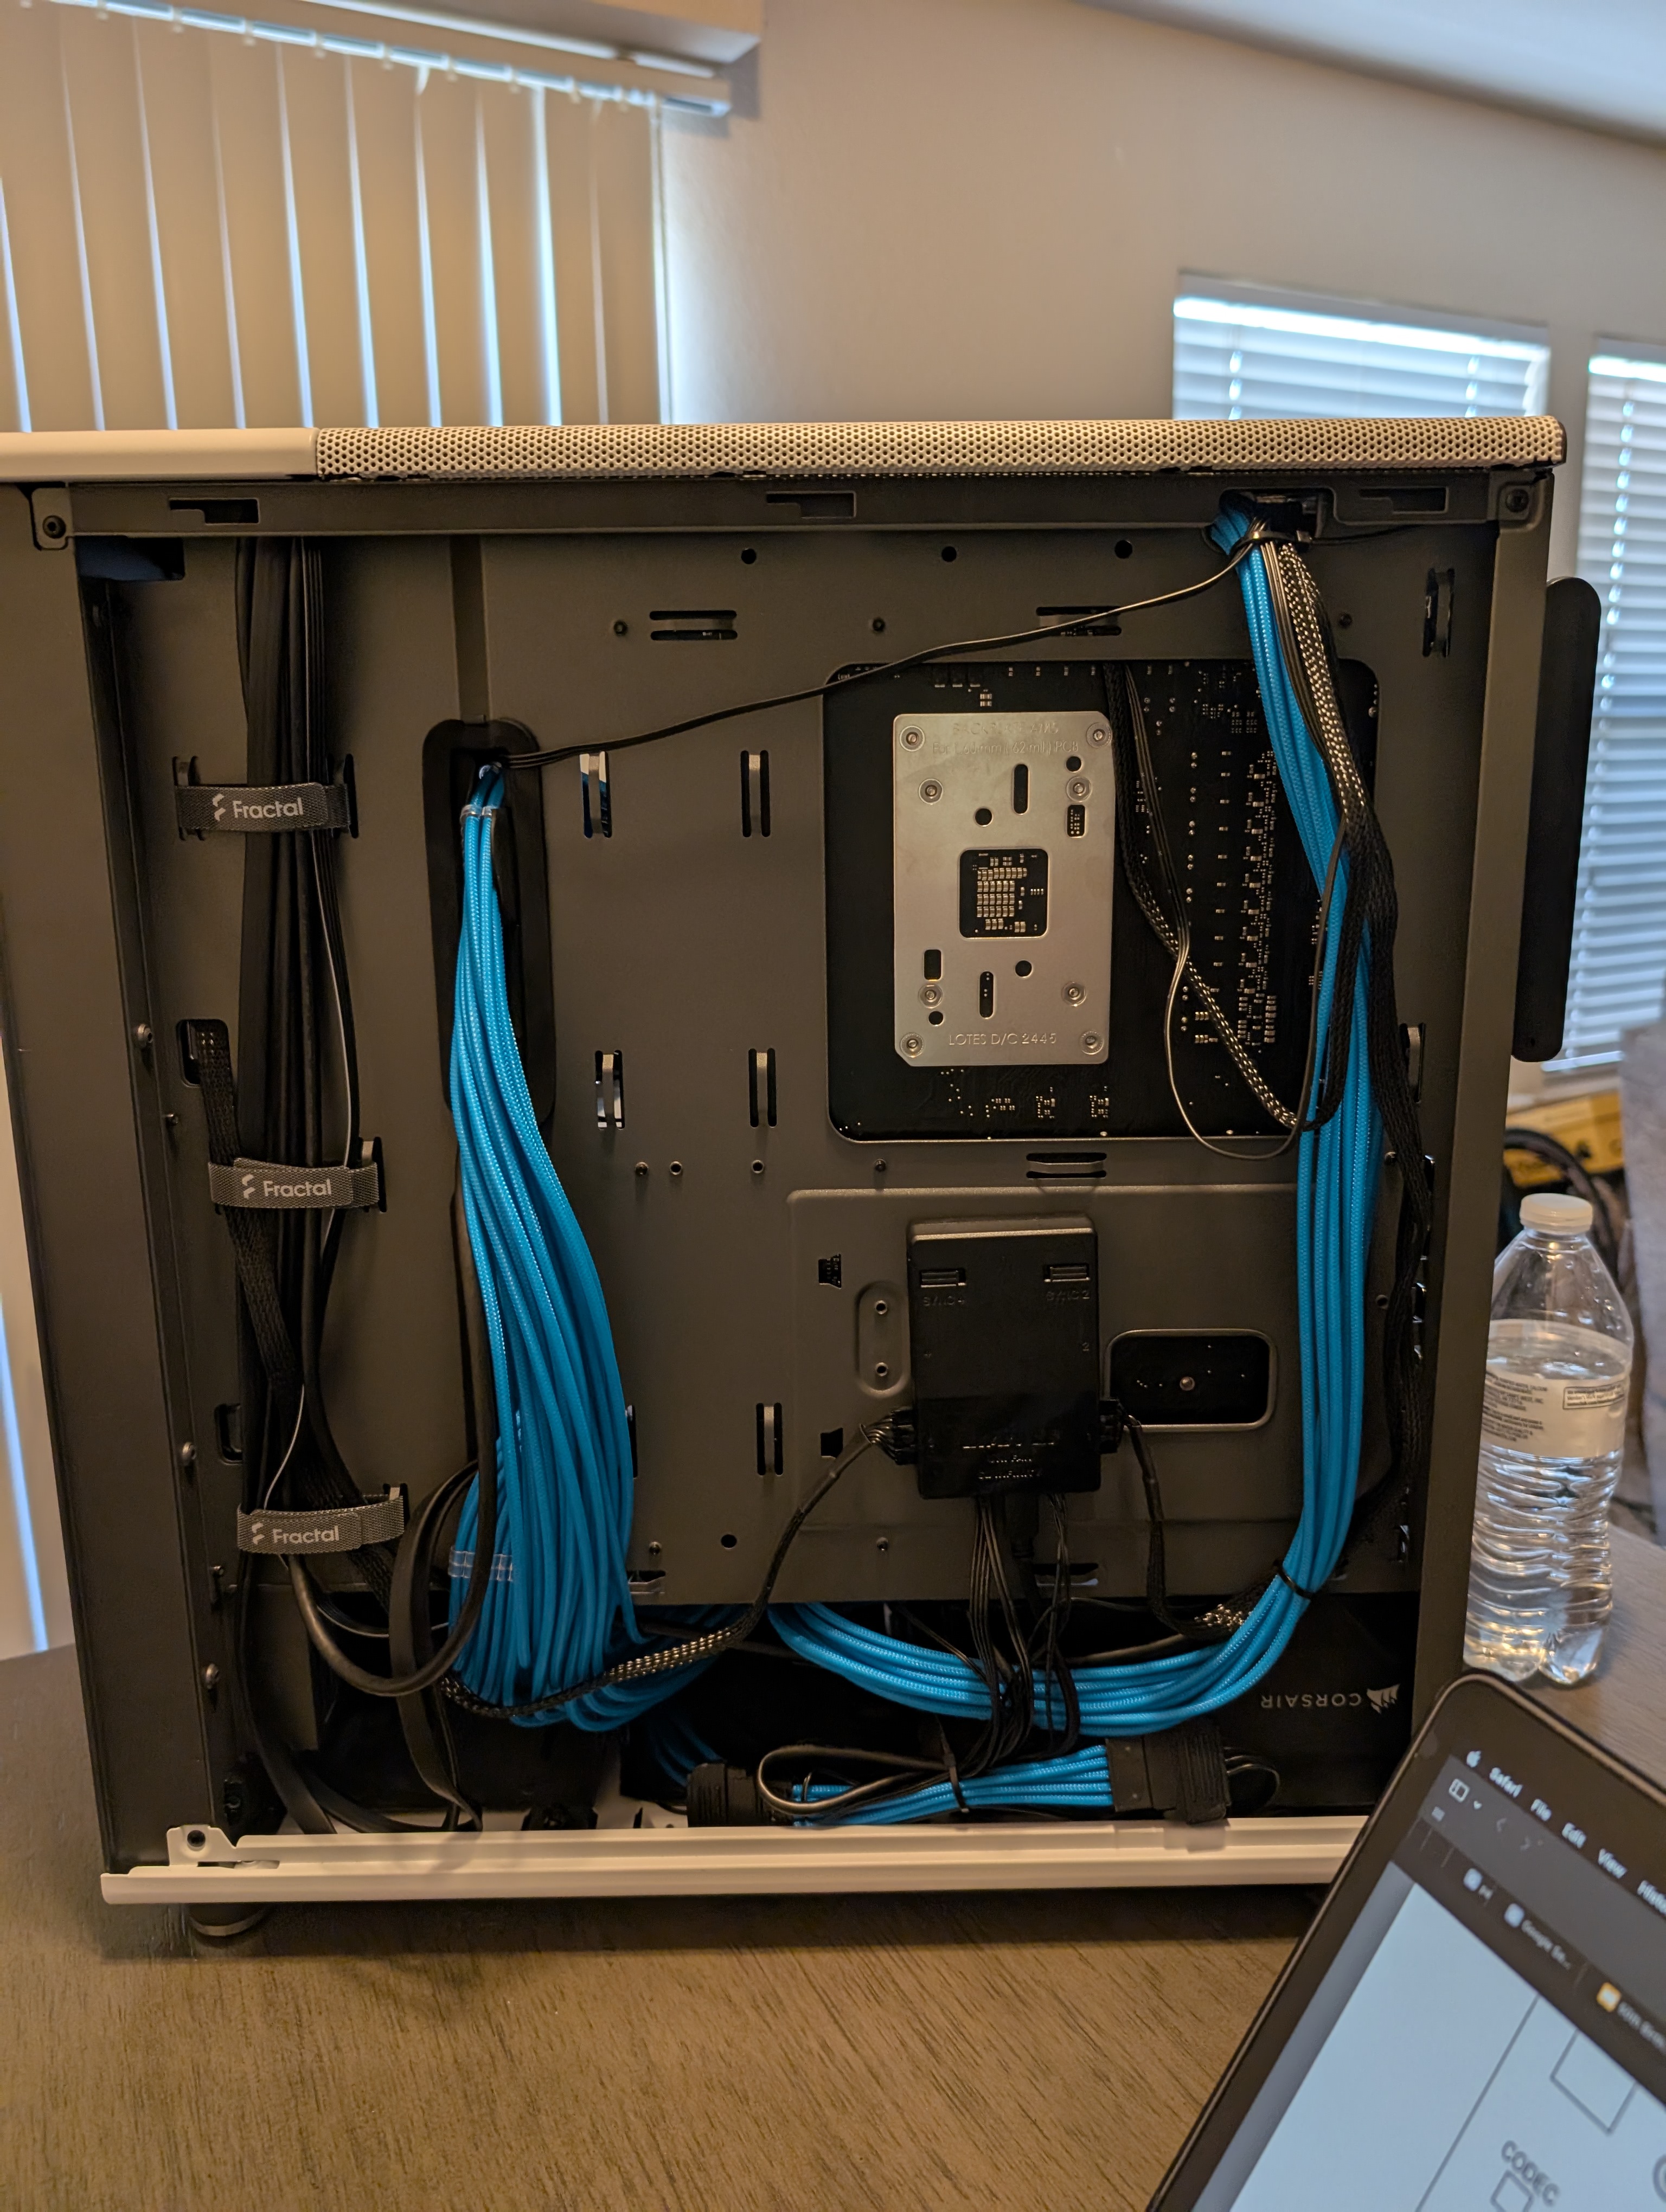 Cable "management" (I only had like 3 zip ties... ok?)
I'm really proud of how the PC came out.